Unlock the Secrets to a Spotless CPAP
Keeping your CPAP equipment clean is vital for optimal health and better sleep quality. In this guide, you’ll learn how to expertly clean your CPAP in just SIX easy steps. Say goodbye to germs and hello to fresh, revitalizing air each night!
What You'll Need for CPAP Cleaning Success
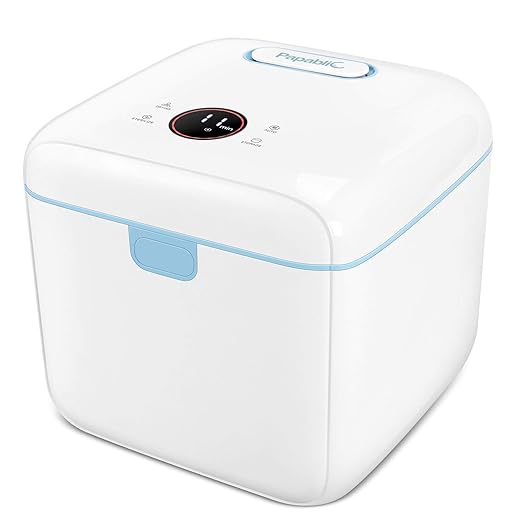
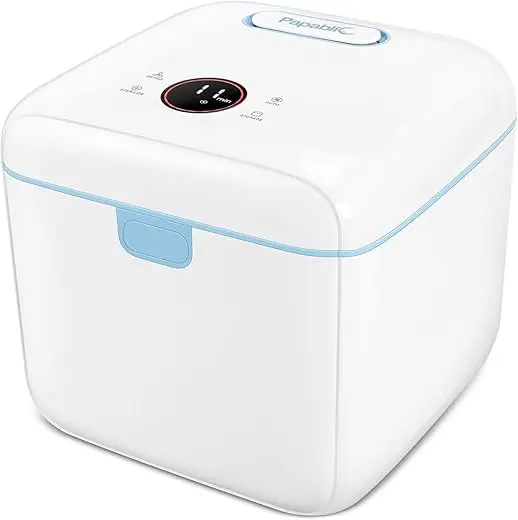
Step 1: Gather Your Cleaning Supplies
Don’t Start Without Your Toolkit! What Do You Really Need?Start your cleaning journey by collecting essential supplies. You’ll need:
Envision this as your cleaning toolkit. Each item plays a crucial role in keeping your CPAP equipment spotless. For instance, using a mild soap can prevent buildup of harmful residues, while the soft cloth ensures you won’t damage your mask or tubing. Gather these supplies so you’re fully prepared for the next steps.

Step 2: Disassemble Your CPAP Machine
Is it Time to Take it Apart? Let’s Make Cleaning Easy!Carefully disassemble your CPAP apparatus to ensure a thorough cleaning. Start by unplugging the machine from the power source. Then, remove each component: detach the mask, tubing, and reservoir. For example, if your mask has a headgear, unclip it gently to avoid tearing.
Separate the tubing from the machine by loosening any connections. This allows you to access every nook and cranny where dirt and germs might hide. Don’t forget to check the reservoir; open it up to ensure that you can fully clean any water residue.
Organize the disassembled parts in a clean area, preferably on a towel, to prevent cross-contamination. With everything neatly arranged, you’re ready for the next step in your CPAP cleaning journey!

Step 3: Clean the CPAP Mask
Your Face Deserves the Best! How to Keep It Fresh!Wash your CPAP mask using a mild soap solution to remove oils and dirt. Start by mixing a few drops of fragrance-free dish soap with warm water in a small bowl. Dip a soft cloth or sponge into the solution, and gently wipe the mask’s surface, focusing on areas that come into contact with your skin.
Rinse the mask under lukewarm water to ensure all soap residue is removed. This step is crucial; leftover soap can cause skin irritation when you wear the mask.
Inspect your mask for any signs of wear or damage. For example, if you notice discolored silicone or cracks, consider replacing the mask. After cleaning, set your mask aside to dry completely before reassembling your CPAP machine. This care ensures you’ll enjoy a comfortable and clean sleeping experience.

Step 4: Scrub the Tubing
Are You Overlooking This Vital Component? Don’t Skip It!Clean the CPAP tubing in a soapy-water solution to prevent clogs and ensure optimal airflow. Begin by filling a sink or large basin with warm water and adding a few drops of mild dish soap.
Submerge the tubing completely in the solution, allowing it to soak for a few minutes. Then, take a soft cloth or a specialized tubing brush and gently scrub the interior. For instance, if the tubing has a significant accumulation of moisture or debris, use a back-and-forth motion to dislodge any stubborn particles.
Rinse the tubing thoroughly under warm running water, ensuring all soap is washed away. Lastly, hang the tubing over a towel rack or a clean surface to dry completely, preventing mildew growth. With this step accomplished, your tubing will be fresh and ready for use!

Step 5: Rinse and Dry Thoroughly
Drying Matters! Are You Doing It Right?Rinse all components of your CPAP machine under clean, lukewarm water. Begin with the mask and tubing; make sure to hold them under the running water to eliminate any remaining soap and residue. For example, if you’re rinsing the mask, aim to rinse the inner parts where contact with your skin occurs, as these areas are particularly important for maintaining hygiene.
Shake off excess water from the components and place them on a clean towel. Then, allow everything to air dry completely. This is crucial to prevent mold and bacteria growth. If you want to expedite the drying process, place the mask and tubing in a well-ventilated area or near a fan, ensuring they’re completely dry before reassembling your CPAP. By following these steps, you’ll ensure your equipment remains fresh and ready for use!
Step 6: Reassemble and Store Properly
Ready for Action! How to Keep Your CPAP in Top Shape!Reassemble your CPAP machine once all components are thoroughly dry. Begin by placing the tubing back onto the machine and securing it firmly to avoid any air leaks. Align the mask correctly with the adapter and ensure that all connections are secure. For example, double-check that the mask cushion is snugly fitted to prevent discomfort during sleep.
Store your CPAP in a clean, dry place away from direct sunlight or humidity. Consider using a protective cover to keep dust and debris at bay. Placing your machine on a flat, stable surface helps ensure it stays safe and reduces the risk of damage. By following these steps, you will maintain the condition of your CPAP, ensuring it’s ready for your next restful night.
Enjoy Cleaner CPAP, Healthier Sleep!
By following these six easy steps, you can ensure your CPAP machine remains clean and effective for better sleep health. Remember, a clean CPAP machine contributes significantly to your overall well-being—are you ready to embrace a healthier night’s sleep?

This guide is pretty solid, but I struggle with step 4. Scrubbing the tubing feels awkward. Any tips?
You could try using a soft brush! It really helps get into those tricky spots.
I use a pipe cleaner for the tubing! Works like a charm! ✨
Just finished cleaning my CPAP using this guide! 🥳 It’s super easy when you follow these steps. I didn’t realize how dirty my mask was until I saw the difference! I feel like I can finally breathe properly again. Thanks for sharing!
What did you use to clean the mask? I have a hard time with mine.
I just used soapy water! Super simple. I’ll never skip cleaning again!
So glad to hear you found it helpful, Sarah! 😄 Keeping your CPAP clean makes such a difference.