Unlock the Secrets to a Perfect CPAP Setup
Mastering your CPAP setup can dramatically transform your sleep quality. In just five easy steps, you’ll learn how to customize your device for the best results. Say goodbye to restless nights and hello to refreshing sleep with a simple, effective process that anyone can follow!
What You’ll Need for Success
Having these essentials will ensure a smooth and effective CPAP setup experience.

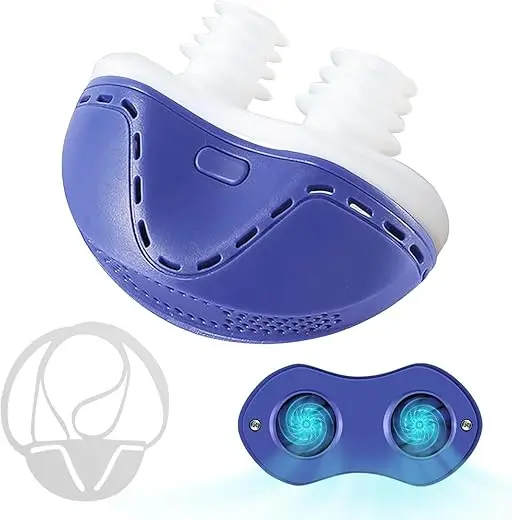
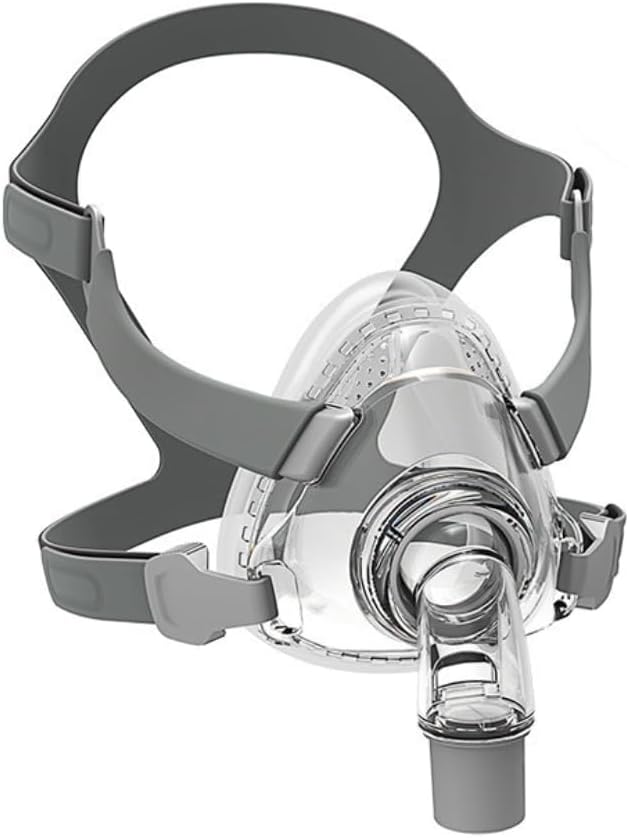
Step 1: Choosing the Right Mask
The Key to Comfort: Find Your Perfect Fit!Identify the mask type that best suits your sleeping style. Explore three common options:
Test each option at your CPAP provider’s office to find the mask that feels most comfortable and minimizes leaks. A good fit means effective therapy, so place comfort at the forefront of your choice!

Step 2: Adjusting Your CPAP Pressure Settings
Breathe Easy: Tailor Your Settings for Optimal Comfort!Locate the pressure adjustment settings on your CPAP machine. Typically, this is done through the main menu or settings screen.
Consult your doctor’s recommendations for optimal pressure levels—commonly expressed in centimeters of water (cm H2O).
Follow these steps to adjust:
Understanding your settings can feel overwhelming, but remember: proper alignment can improve comfort and efficiency, leading to a deeper, more restful sleep each night!

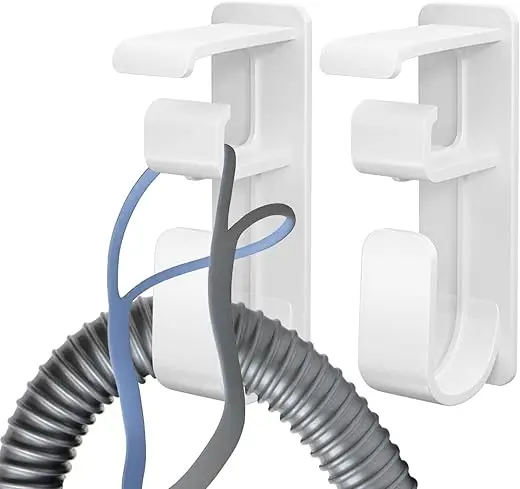
Step 3: Perfecting the Hose Connection
Don’t Let a Loose Hose Ruin Your Sleep!Ensure a secure connection between the hose and the mask to avoid leaks. Start by inserting the hose into the mask’s designated port until you hear a click. This confirms a tight fit.
Inspect the connection regularly for any signs of wear or damage. A loose or damaged hose can lead to therapy inefficiency.
Adjust the hose length as needed by using swivel connectors, allowing for easier movement during sleep.
Finally, wrap the hose along the side of your bed or under your pillow to keep it out of your way, providing both comfort and functionality.

Step 4: Cleaning and Maintenance Tips
Keep It Fresh: The Secret to Longevity and Hygiene!Schedule regular cleaning sessions for your CPAP equipment to maintain hygiene and prolong its life. Start by replacing or washing the components weekly:
Inspect your equipment monthly for wear and tear, replacing parts as needed. By making cleanliness a habit, you safeguard your health and enhance your CPAP experience!

Step 5: Creating a Sleep-Friendly Environment
Transform Your Space: The Unsung Hero of Good Sleep!Transform your bedroom into a sanctuary for sleep by controlling noise and light. Use blackout curtains to block external light and consider white noise machines or earplugs to mask disruptive sounds.
Optimal temperature is key—set your thermostat between 60-67°F (15-19°C) for ideal sleep conditions.
Position your CPAP device on a bedside table within easy reach, ensuring cables are safely tucked away to avoid trips.
Enhance comfort with cozy bedding and pillows. The right setup can significantly improve your CPAP therapy, helping you fall asleep quickly and stay rested throughout the night.

Embrace Your CPAP Journey with Confidence!
By following these five steps, you’ll master your CPAP setup, paving the way for improved sleep quality and overall health. As you enjoy restful nights ahead, consider: how will the positive changes in your sleep transform your daily life?

These steps are solid! I never thought about the sleep environment part. I’m gonna try black out curtains and see if it helps. Thanks for the tip!
I did the same, and it made a huge difference! Also, try some essential oils if you’re into that.
Great idea, Chris! A dark room can really help improve sleep quality!
I feel like the pressure settings are sooo complicated. I wish there was a magic button to just set it perfectly! Anyone else feel this way? 😅
I agree! I had mine adjusted a few times before it felt right. Patience is key, I guess.
Totally get that, Samuel! It can be tricky. But once you get the hang of it, it’s not so bad. Adjust slowly and consult your doc if needed!
I wish I had this guide when I first got my CPAP. It took me forever to figure everything out! 😂 Better late than never, I guess.
Same here! I figured it out by trial and error. This guide would have saved me so much stress!
Glad you found it now! It’s never too late to master your setup. Let us know if you have any other questions!
Wow, this guide is super helpful! I always struggled with the mask fitting part. I never knew there were so many options to choose from! 😅 I think I’ll try a few different ones before settling. Thanks for breaking it down!
So glad you found it helpful, Jessica! The right mask makes all the difference. Let us know which one you end up choosing!
I hear ya! I had a hard time with that too. Ended up going with a nasal pillow, and it’s been a game changer for me.
Reading through this made me realize I’ve been doing things the hard way! Gonna seriously rethink my setup and try these out. Thanks! 🙌
Totally! I’ve been meaning to reevaluate my routine too. Let’s do this together! 😊
That’s the spirit, Ashley! Sometimes just a few tweaks can make all the difference.
The hose connection part cracked me up. 😂 I thought I was the only one struggling with that! Who knew it would be the most challenging part?
Right? I once had mine pop off in the middle of the night. I thought I was being attacked by a snake! 😂
Haha, it’s a common struggle, Kevin! Those hoses can be tricky sometimes.
Honestly, I still don’t feel fully comfortable with my CPAP. I think I need to revisit the mask options. It should be easier, right?
Finding the right fit can take time, Laura. Don’t hesitate to explore different options until you find what works for you.
It took me a few tries too! But once I found my mask, it was like a whole new world!
Cleaning my CPAP feels like a part-time job. 😩 I never thought I’d be this obsessed with sanitizing things! But I guess it’s worth it for better sleep?
Haha, it can definitely feel like that! But keeping it clean is super important for your health. Maybe try setting a specific cleaning day!
You’re not alone, Natalie! I actually set reminders on my phone to help. 😂 It helps keep the routine!
Right? I have a whole system now, it’s insane. But I do feel better knowing it’s clean!